Using Codefresh to build and deploy a simple site to GCP
Setting up Codefresh and GCP
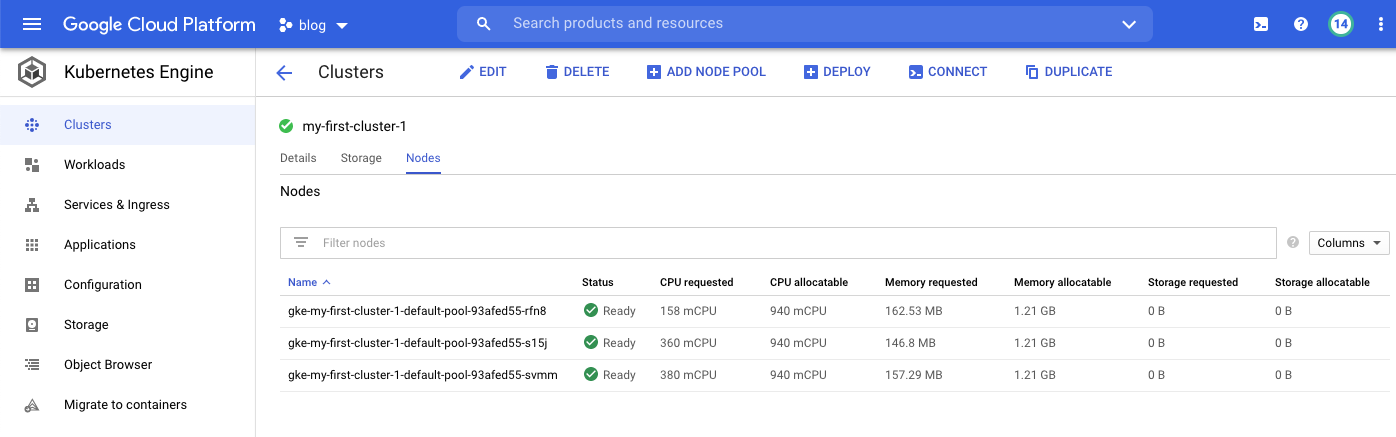
Codefresh is a CI/CD tool that allows you to automate the process of building and deploying, this article covers my experience in setting up Codefresh to build and deploy my blog. I followed this handy guide by Anna Baker to setup my Codefresh account and link it to my GCP account. The steps are quite straightforward and the result was a dedicated Kubernetes cluster which Codefresh uses to run build and deploys.
The guide finishes with some pointers on how to get deploying, I decided to use the Codefresh UI since I have no idea what I’m doing. The first step is to create a new pipeline which consists of a collection of stages that you configure to get your app/site/whatever deployed, in my case I needed to:
- checkout the source code of my site
- build the static HTML of the site using jekyll
- deploy the static HTML to my GCP bucket
This translates to the following configuration in the Codefresh pipeline workflow
  stages:
    - "clone"
    - "build"
    - "deploy"
Each of the above stages is run in a docker container meaning there is clean isolation between each step and also allows steps to be parallelised, however in my case each stage depends on the output of the previous. To allow your artefacts to move between stages, Codefresh mounts each stages container to the same volume, therefore if you use the default path you can pass your output between the stages.
Stage 1: clone
Stage 1 is simple enough, using the Integrations I linked Codefresh to my Github account the in the clone step added the details for my repo:
  main_clone:
    title: "Cloning repository"
    type: "git-clone"
    repo: "danielholden/blog"
    revision: "$"
    git: "danielholden"
    stage: "clone"
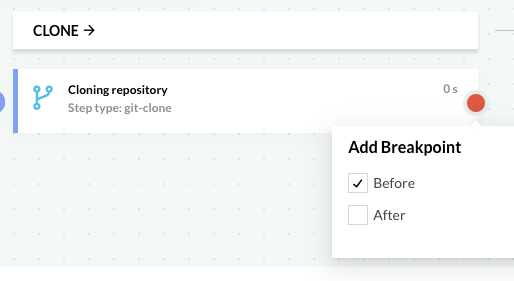
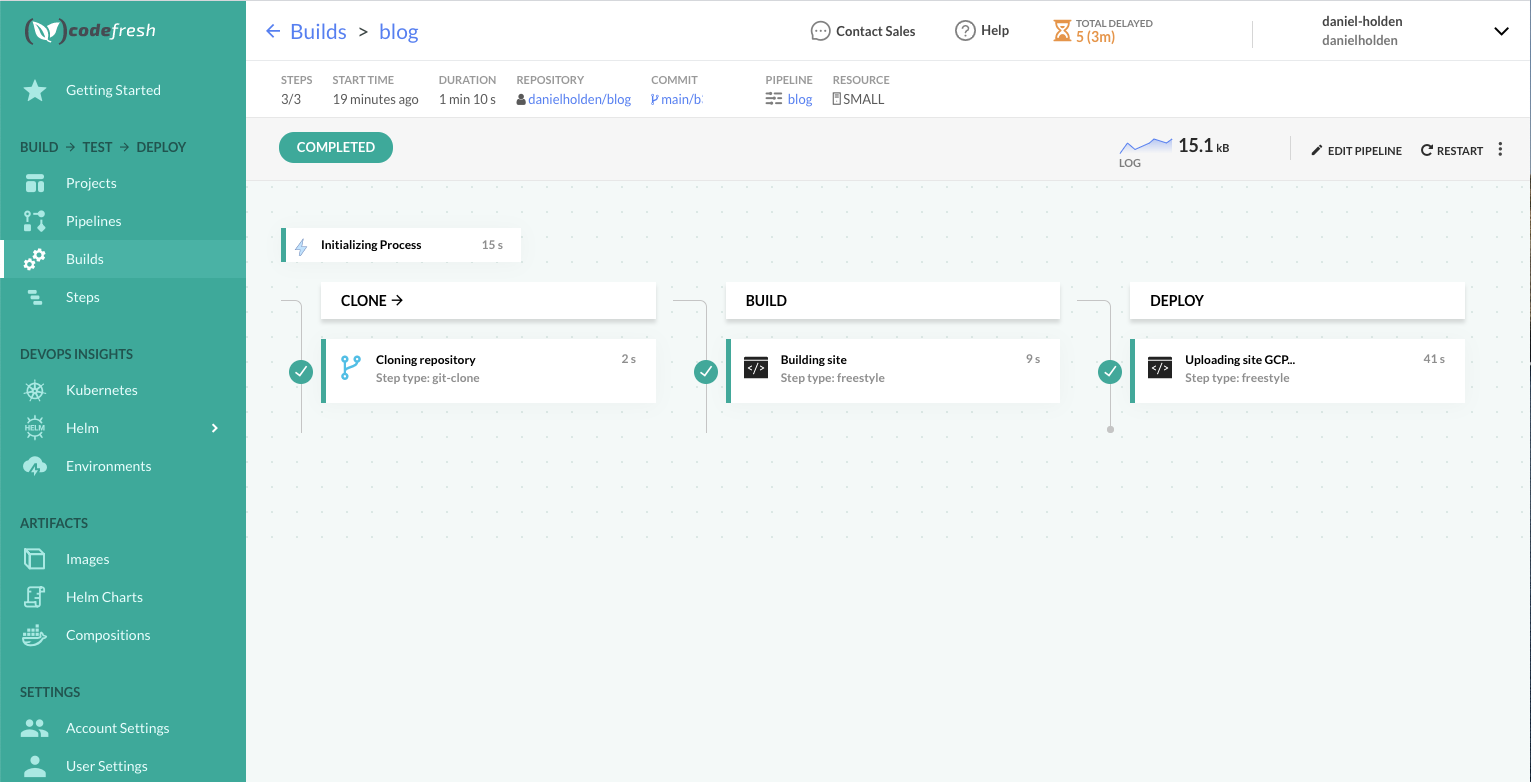
You can then run the pipeline and using the handy debug option allows you to set a breakpoint and jump into the pipeline step, here’s what that looks like for the clone stage
Stage 2: build
Stage 2 involves building the site, there is a jekyll docker image available on Dockerhub so the thinking is to use that image with all the dependencies installed then just run jekyll build during the build stage.
I hit the following error when running the build with --trace turned on:
/usr/local/lib/ruby/2.6.0/fileutils.rb:239:in `mkdir': Permission denied @ dir_s_mkdir - /codefresh/volume/blog/site/.jekyll-cache (Errno::EACCES)
After a bit of googling it wasn’t clear to me why the jeykll command was failing to create the directory, to move forward I manually created the directories causing this issue by adding them to the stage 2 build process.
Another issue I ran in to was the jekyll build process will resolve all the dependencies and was taking a reasonable amount of CPU / memory to get the job done, after a few builds it occurred to me that I’m paying to do the same task each time, so why not do it once - preserve that state in an image and use that image during the build stage. This slightly sidetracked the progress but was useful to understand how to build an image with an appropriate tag for the GCP Container Registry
  docker build -t asia.gcr.io/blog-293405/jekyll-danielholden:v1 --no-cache -f Dockerfile .
  docker push asia.gcr.io/blog-293405/jekyll-danielholden:v1
I also used the Codefresh integration setup to use the GCP container registry, which was a nice smooth process via the Codefresh UI.
OK; so at this stage I have an image ready to go and a slightly hacky (see mkdir) build stage in Codefresh
  build:
  title: Building site
  type: freestyle
  stage: "build"
  arguments:
      image: 'asia.gcr.io/blog-293405/jekyll-danielholden:v1'
      commands:
      - cd site
      - mkdir -p .jekyll-cache
      - mkdir -p _site
      - jekyll build --trace
Stage 3: deploy
Now I have a _site directory that is ready to be synched up to my GCP bucket, the first thing I would need is an image with the relevant gcloud binaries, happily Google already provide such an image on Dockerhub called cloud-sdk. From here the only challenge is authentication, I’ve unfortunately lost the link I found for setting up the authentication, but it’s a simple case of:
- in GCP creating a key file for the GCP service account
gcloud iam service-accounts keys create key.json \ --iam-account [PROJECT-ID]@appspot.gserviceaccount.com - base64 the key file so it can be pasted into a Codefresh variable
base64 key.json > key.b64 - in Codefresh creating a variable called
KEY_FILEand pasting the base64 string (remember to select encrypt as this is a private key for your GCP service account) - authenticating to GCP using the key
 echo $KEY_FILE | base64 --decode > key_file.json
 gcloud auth activate-service-account --key-file=key_file.json
Finally, using the gsutil the site can be synced to the bucket. Here is the complete stage 3 deploy in Codefresh.
deploy:
  title: "Uploading site GCP..."
  type: "freestyle"
  stage: "deploy"
  arguments:
    image: "google/cloud-sdk:slim"
    commands:
      - cd site
      - echo $KEY_FILE | base64 --decode > key_file.json
      - gcloud auth activate-service-account --key-file=key_file.json
      - gsutil rsync -r _site/ gs://blog.danielholden.org
After much debugging and a couple of workarounds (changing directory / creating directories) with the above setup, I was able to achieve a green build.
Incase it is useful, all of the source for this site can be found at github.com/danielholden/blog